There’s a pretty good chance that you might visit Zion National Park, and never see the east side. If you’re coming from Las Vegas, you’ll enter Zion from the west, and quite possibly leave the same way. If you never venture past the main canyon, that’s a shame, because the east side has a lot of spectacular scenery to offer, as well as one of the park’s most incredible engineering feats.
I had a couple of hours to kill, near the end of Day 3. After hiking an 8 mile trail earlier in the day, I wasn’t in the mood to do any more walking, so I hopped in the car and drove out to Zion’s east entrance.
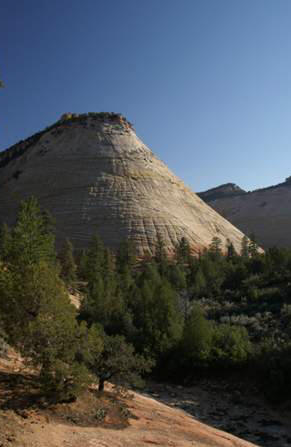
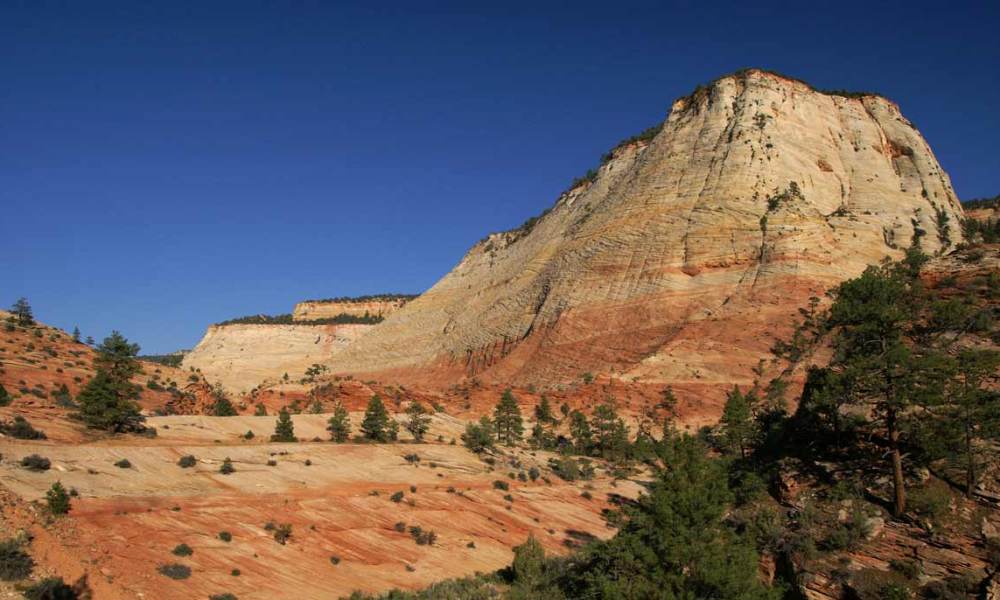
As soon as you pass through Zion National Park’s east entrance gate on Utah Route 9, you come upon something quite extraordinary: Checkerboard Mesa. The sides of this giant cone-shaped sandstone hill are scored with horizontal and vertical lines. They criss-cross to roughly form the pattern of a very large checkerboard.
This is about the best view you can get. Although the road skirts the base of Checkerboard Mesa, the only parking area is a good distance away. The road is narrow, so I wouldn’t suggest walking over to it.
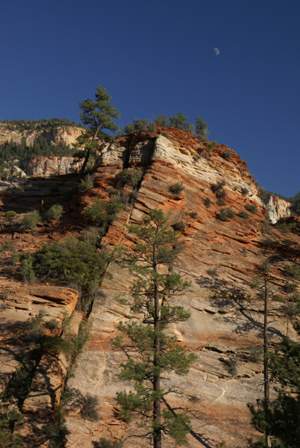
After you pass Checkerboard Mesa, Route 9 turns into a roller coaster of sorts, curving left and right, dipping up and down, in an effort to navigate around huge rock walls like this one.
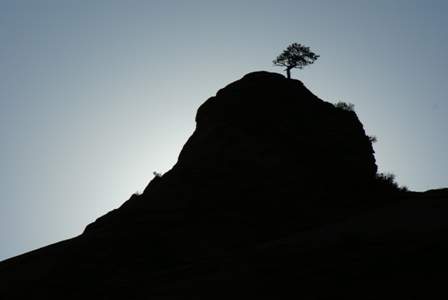
There are plenty of parking areas (even though most are small), so you can get out and walk on the slickrock. Be sure to watch for this tree high above the right side of the road.
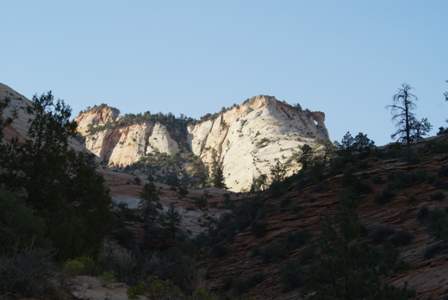
Notice the very small window that has formed in the mountainside?
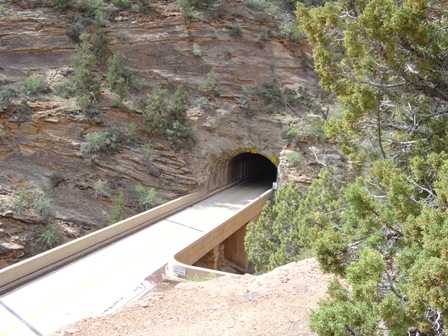
You’ll pass through a small tunnel, then come to a much longer one. This is the famous Zion-Mount Carmel Tunnel: a two lane, 1.1 mile long passageway carved through the middle of solid sandstone rock. The tunnel was constructed between 1927 and 1930, back when cars were smaller and traffic was much lighter.
Driving through the Zion-Mt. Carmel Tunnel is an exciting experience. The road curves several times in the middle of the tunnel, so you can’t see the end of the tunnel until you’re almost there. Also, there are no electric lights inside the tunnel–partially because there’s no room for them. The tunnel isn’t completely dark, though…
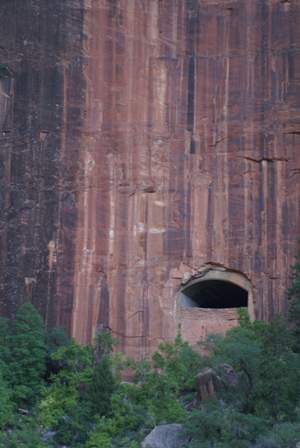
… thanks to several windows that open to the outside. You see, the tunnel doesn’t take you through the middle of a mountain, it takes you through the side of it. You’re only a matter of yards from the outside, even though it feels like you’re much further in.
Once you emerge from the west side of the tunnel, you still have plenty of driving to do to reach the mouth of Zion Canyon. Switchbacks allow the road to zig-zag down, dropping 1,100 feet in just a few miles. If you stop on the second curve, you’ll get the best view of the tunnel windows (like you see in the above picture).
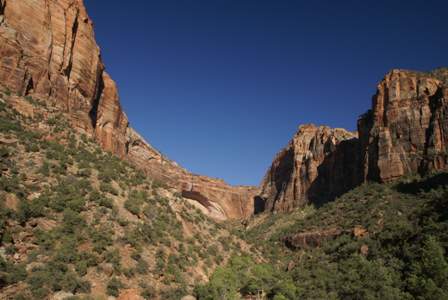
You’ll also enjoy a great view of the Great Arch of Zion. For some reason, I didn’t take a very good picture of it on this trip. But you can kinda see it in the middle of this picture. The tunnel windows cut into the mountainside, just to the right of the arch.
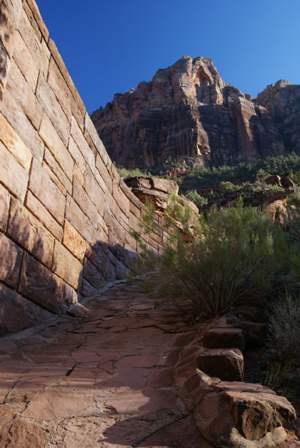
After several more switchbacks, you’re nearly at the bottom of the canyon. I decided to stop for a moment at the bridge over Pine Creek, at the final big curve. I don’t think you’re supposed to walk down to the creek (this was the only paved approach route, and I think it’s more of a drainage spillway than a sidewalk, because it’s quite steep).
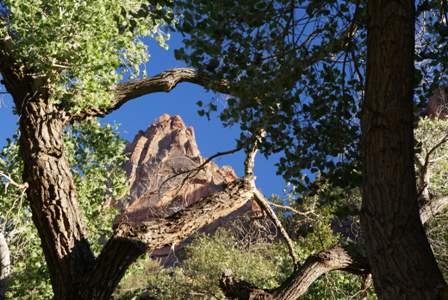
There wasn’t much to see underneath the bridge. Most of the surrounding mountain peaks were obscured by trees, and the creek itself was more mud than water.
Back In Springdale…
That pretty much wrapped up Day 3. I headed back to my motel just as the setting sun lit up the canyon’s eastern walls.
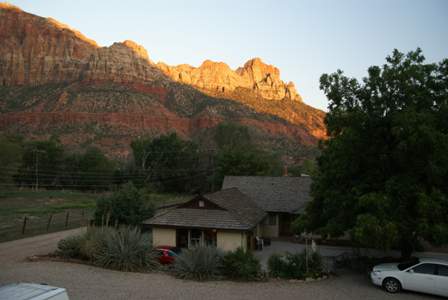
Springdale is a great little town with a lot of hotels, and everything else Zion visitors need. However, it can be a bit pricey. I found, what I believe to be, the best deal in Springdale at the El Rio Lodge. Above, you see the view from my room.
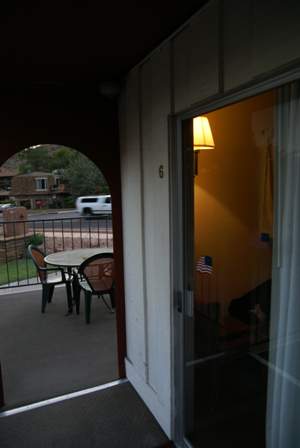
And here is my room: number six, on the end of the second floor.
The El Rio Lodge is not your typical motel, and it’s unlike any place I’ve ever stayed before. The best way I can describe it is this: it’s like staying at a friend’s house, in their spare room, in the basement. I don’t mean to make it sound bad; I’d definitely stay here again. But, this isn’t luxury by any means. The entrance is a sliding glass door, the two beds are crammed into the room, there are no headboards, the bathroom is tiny and the shower could benefit from some Tilex. The vanity counter is made up of no less than three different shades of green Formica. Despite all that, the El Rio Lodge is clean, the TV works, and there’s even a microwave in the room. It’s old, but it’s decent, and it allows you to stay a mile or so away from the park entrance, for about $65 a night (single bed rooms are even cheaper, and there are a couple of shared-bathroom rooms that start around $40!). That’s an awesome deal, considering everything else in town starts around $100. Just don’t expect anything more luxurious than you would, if staying in your friend’s basement.
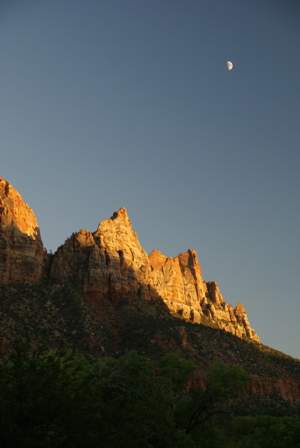
Note: This trip was first published in 2007.



No comments